Step-by-Step Guide: Using Google Pay for Cardless ATM Withdrawals
Step-by-Step Guide: Using Google Pay for Cardless ATM Withdrawals
In an era where digital convenience is at the forefront of financial innovation, Google Pay has revolutionized the way we handle everyday transactions. Among its myriad of features, the ability to withdraw cash from an ATM without a physical card stands out as a testament to the seamless integration of technology and banking. This guide walks you through the simple steps to access your funds using Google Pay at an ATM, ensuring a smooth and secure experience.
Step 1: Initiating the Withdrawal
When you approach the ATM, start by selecting the appropriate option for a cardless withdrawal. Depending on the ATM, you might see choices such as ‘UPI Cash Withdrawal,’ ‘ICCW,’ or ‘Interoperable Cardless Cash Withdrawal.’ These options signify that the ATM supports the withdrawal of cash using digital means rather than a traditional debit or credit card.
Step 2: Enter the Withdrawal Amount

Once you’ve chosen the cardless withdrawal option, the ATM will prompt you to enter the amount of money you wish to withdraw. This is a straightforward step, akin to any standard ATM transaction where you specify the desired amount of cash.

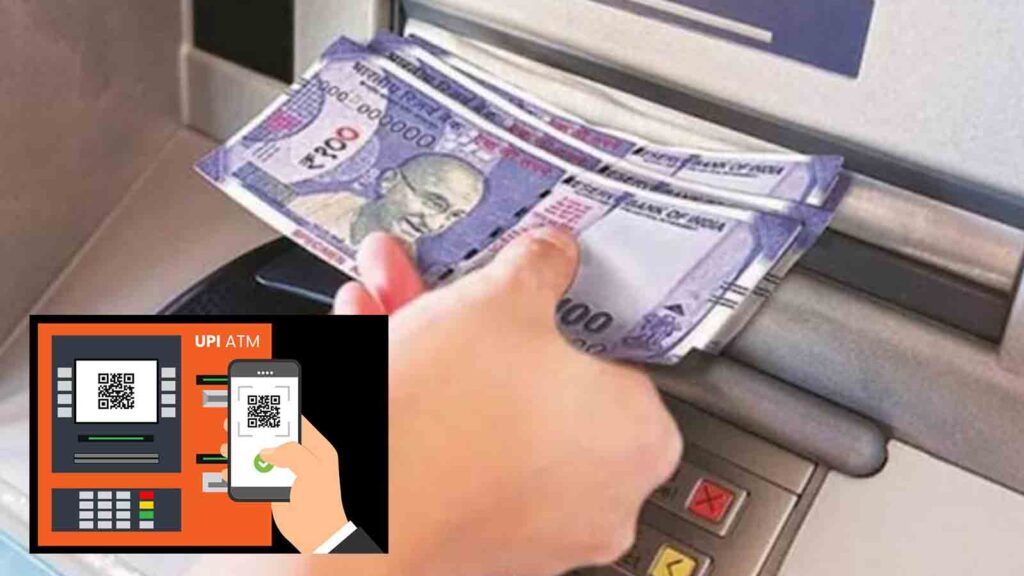
Step 3: QR Code Generation
The ATM will then generate a secure and signed dynamic QR code, displayed prominently on the screen for 30 seconds. This code is a crucial element in the process, ensuring that your transaction is authenticated and secure.
Step 4: Open Google Pay
With the QR code displayed, it’s time to switch your focus to your mobile device. Open the Google Pay app, which acts as your digital wallet and the key to accessing your funds without a physical card.
Step 5: Scan the QR Code
Within the Google Pay app, locate the option to scan a QR code. Align your phone’s camera with the QR code on the ATM screen. Once scanned, the app will navigate you to a payflow screen where you can see all your eligible bank accounts for the transaction.
Step 6: Select Your Bank Account
From the list of available accounts, choose the one you wish to withdraw money from. This step ensures that the funds are debited from the correct account, providing you with control and flexibility.
Step 7: Enter Your UPI PIN
To authorize the withdrawal, you’ll need to enter your UPI PIN. This step adds an extra layer of security, confirming that you are the rightful owner of the account and authorized to complete the transaction.
Step 8: Complete the Transaction
Once the payment is successful, follow the on-screen instructions on the ATM. The machine will process your request and dispense the cash. This final step is where the digital meets the physical, as your money is delivered securely and efficiently.