Transforming Ghibli-Style Images into Animation: A Step-by-Step Guide
Transforming Ghibli-Style Images into Animation: A Step-by-Step Guide
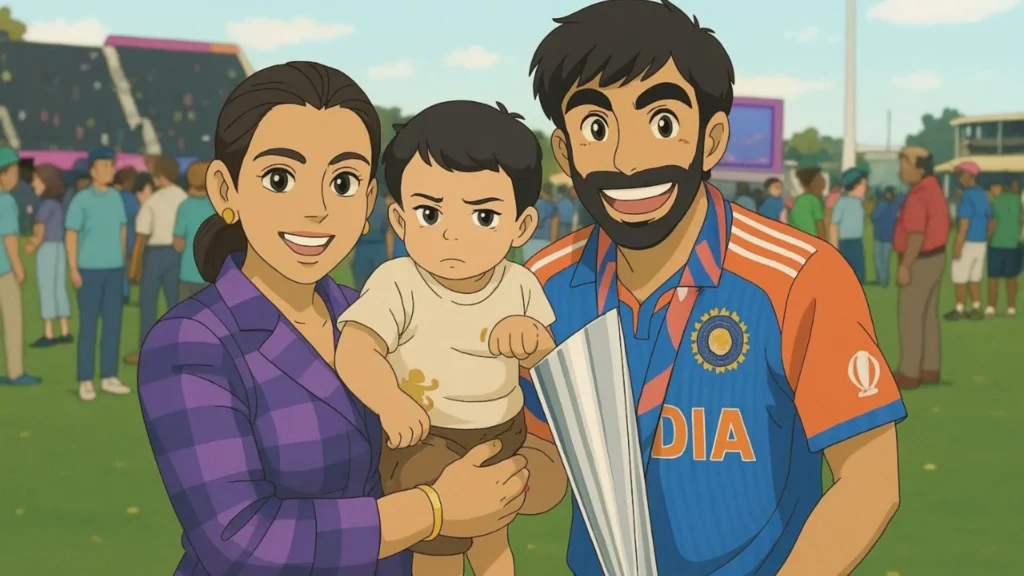
Ghibli-style visuals have taken over social media, captivating audiences with their dreamy, hand-painted aesthetics reminiscent of classics like My Neighbor Totoro and Spirited Away. These images, often created using AI tools or hand-drawn techniques, transport viewers into enchanting worlds. But why stop at still images? With the right tools and techniques, you can transform them into animated masterpieces. Here’s how:
Step 1: Prepare Your Ghibli-Style Images
To begin, gather or create high-quality images:
- Select or Design Your Image: Use AI tools like Midjourney or sketch your own using Procreate.
- Layer Your Elements: Separate key components—characters, trees, sky—into different layers for easier animation.
Step 2: Plan Your Animation
Studio Ghibli’s magic lies in subtle storytelling. Storyboarding helps map out your animation:

- Sketch a Sequence: Plan a simple animation, like a character walking through a glowing forest.
- Frame Rate Considerations: Aim for 24 frames per second (FPS) for a cinematic feel. A 10-second clip requires 240 frames, but software tools can assist with in-between frames.
Step 3: Choose the Right Animation Software
Select software based on your skill level and needs:
- Adobe After Effects: Advanced tool for detailed animations.
- Blender: Free, open-source software ideal for 3D animation.
- Procreate: Best for hand-drawn frame-by-frame animation.
- RunwayML: Uses AI to automate motion interpolation.
- CapCut: A beginner-friendly tool for quick edits.
Step 4: Organize and Import Your Assets
Once you’ve chosen your software, organize your elements:
- Import Your Images: Load your Ghibli-style artwork into the software.
- Arrange by Layers: Structure elements into background, midground, and foreground for smooth editing.
- Group Movements: Keep characters and animated objects on separate layers.
Step 5: Animate with Motion and Transitions
Bring your images to life with animation techniques:
- Keyframe Animation: Set keyframes for movement positions.
- Tweening: Smooth transitions between frames.
- Parallax Effect: Move background and foreground layers at different speeds for depth.
Step 6: Enhance with Atmospheric Effects
Adding environmental effects will elevate your animation:
- Particle Effects: Incorporate fireflies, falling leaves, or dust.
- Lighting & Shadows: Adjust light sources for a cinematic effect.
- Camera Movements: Use pans and zooms for a dynamic feel.
Step 7: Sync with Audio
Sound design plays a crucial role in immersing viewers:
- Background Music: Use orchestral or ambient soundtracks.
- Ambient Sounds: Add wind, chirping birds, or rustling leaves.
- Dialogue & Foley: Ensure character voices and sound effects sync perfectly.
Step 8: Render and Export
Finalizing your animation ensures the best quality:
- Select Export Settings: Opt for high resolution (1080p or 4K) for a crisp output.
- Check for Errors: Ensure smooth playback without glitches.
- Be Mindful of Copyright: If using AI-generated images, consider legal implications for commercial use.
By following these steps, you can turn your Ghibli-style stills into mesmerizing animated sequences, ready to enchant audiences on social media and beyond.