From One Plant to Dozens: The Easiest Aloe Vera Growing Guide You’ll Ever Need

From One Plant to Dozens: The Easiest Aloe Vera Growing Guide You’ll Ever Need
Aloe vera isn’t just another houseplant. It’s nature’s green miracle, low maintenance, good-looking, and full of benefits. The best part? Once you have one, you might never need to buy another. Here’s how you can turn one aloe plant into an endless green family.
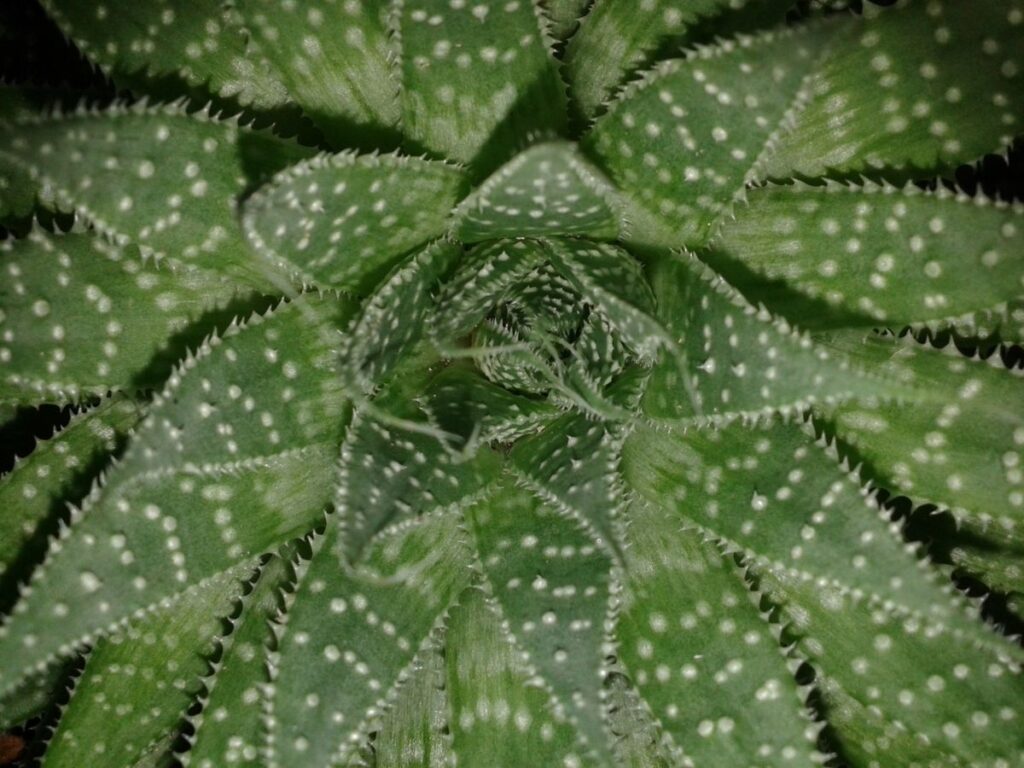
Aloe vera grows in a special way. It’s a succulent, which means it stores water in its thick, juicy leaves. But the real magic happens underground. From the base of the main plant, tiny baby plants, called pups or offsets, start popping up. These pups are exact copies of the parent plant. With a little care, they can grow into healthy aloe plants of their own.
This is why one aloe can turn into ten, and ten into fifty, over time. Each new pup can be separated and grown in its own pot, and that’s how your aloe family keeps expanding, forever.
When’s the Best Time to Grow More Aloe?
Timing is everything. Aloe plants love warmth, so the best time to grow or move them is in the spring or summer. During these seasons, the plant grows faster and develops stronger roots. In winter, aloe slows down, it’s resting. Trying to replant or move pups during this time can stress them out, making them weak or even killing them. So, think of spring as aloe’s “new beginning” season.
How to Spot the Right Baby Plant
Not every pup is ready to leave the mother plant. You’ll know it’s time when the pup is around 3 to 4 inches tall and already has small roots growing at the bottom. The leaves should be firm, green, and healthy, not soft or yellow. If you take a pup too early, it may not survive on its own. Think of it like a baby bird, it needs to grow a bit before it can fly.
The Right Way to Replant
Once your aloe pup is ready, gently take the whole plant out of its pot and dust off the extra soil. You’ll see small roots connecting the pup to the parent. Use a clean, sharp knife to carefully separate it. Don’t worry, aloe plants are tough. After cutting, let the pup rest in a shady spot for a day or two. This allows the cut area to “heal” and form a dry layer so it doesn’t rot when you plant it again.
Then, plant your pup in a small pot filled with loose, sandy soil, the kind used for succulents or cacti. Make sure the pot has a hole at the bottom for drainage. Too much water is aloe’s biggest enemy.
How to Keep It Happy
Once planted, don’t water it right away. Give the roots time to settle for about a week. Then, start watering just a little, only when the soil feels completely dry. Aloe doesn’t like “wet feet.” Too much moisture can make the roots rot.
Place your pot where it gets bright but indirect sunlight at first. After a few weeks, once it looks stronger, move it to a sunnier spot. Aloe loves sunlight, around 6 to 8 hours a day is perfect. And remember, aloe doesn’t need too much food. A gentle, diluted plant fertilizer once a month during summer is more than enough.
What to Watch Out For
There are a few common mistakes that can hurt your aloe’s growth. Don’t separate pups too early, don’t plant them in heavy, sticky soil, and don’t overwater them. Also, don’t suddenly keep them in harsh sunlight right after planting, they need time to adjust.
If you avoid these small mistakes, your aloe will stay green, strong, and happy for years.
Why Everyone Loves Aloe
Once you master how to grow aloe, it’s like having a natural pharmacy at home. The gel inside its leaves helps with burns, skin irritation, and dryness. You can keep one pot in your kitchen, one on your balcony, and one on your desk. The more you care for it, the more it gives back, in both health and beauty.