From Seeds to Salad in 7 Days: An Easy Home Gardening Guide

From Seeds to Salad in 7 Days: An Easy Home Gardening Guide
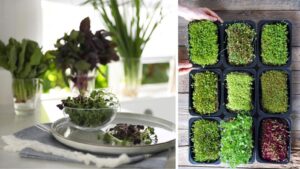
29 June, 2026: If you’ve ever wanted to grow your own fresh vegetables but don’t have a garden, micro-greens are the perfect solution. These tiny, nutrient-rich greens can be grown indoors on a windowsill and are ready to harvest in as little as seven days. They require minimal space, very little maintenance, and are packed with vitamins, minerals, and antioxidants.
Whether you’re a beginner or an experienced gardener, growing microgreens at home is simple, affordable, and rewarding. Here’s everything you need to know.

What Are Microgreens?
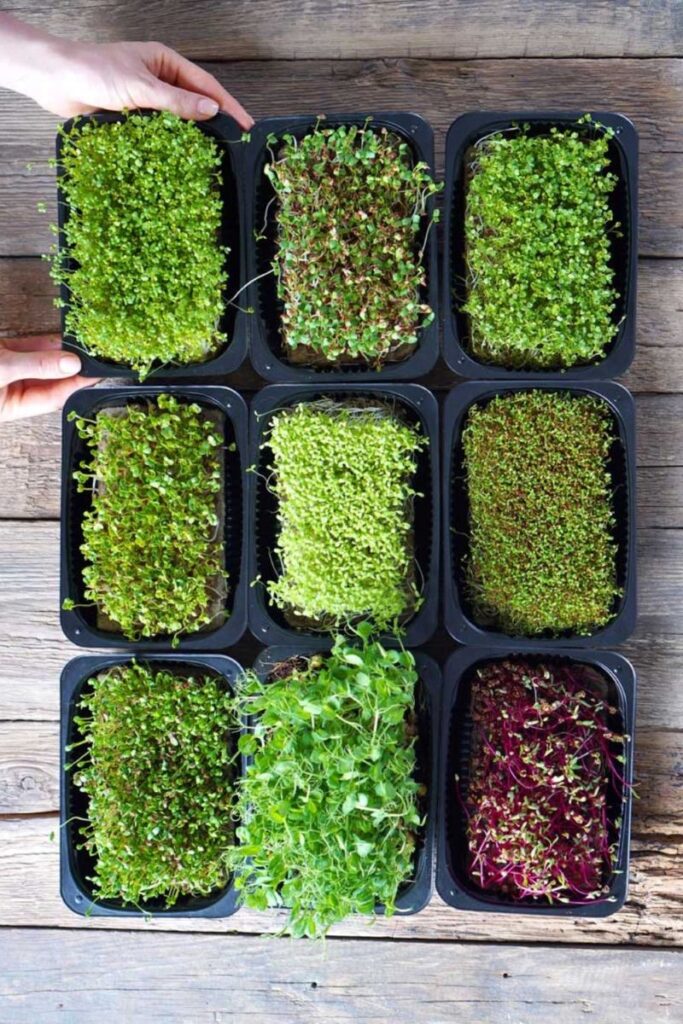
Microgreens are the young seedlings of vegetables and herbs that are harvested just after their first leaves develop. They are smaller than baby greens but contain concentrated nutrients and intense flavours. Popular varieties include broccoli, radish, mustard, sunflower, pea shoots, fenugreek (methi), basil, and cabbage.

These colourful greens are commonly used in salads, sandwiches, wraps, soups, smoothies, and even as a garnish for everyday meals.
Things You’ll Need
Before you begin, gather these basic supplies:
- A shallow tray or container with drainage holes
- Potting soil or coco peat
- Microgreen seeds
- A spray bottle filled with water
- A sunny windowsill or LED grow light
- Clean scissors for harvesting
Step 1: Prepare the Growing Tray
Fill your tray with about 1–2 inches of moist potting soil or coco peat. Spread it evenly and gently press the surface to create a flat, level base. The soil should be damp but not waterlogged.
Step 2: Sow the Seeds
Scatter the seeds evenly across the soil. Since microgreens are harvested early, the seeds can be sown much closer together than regular vegetables. However, avoid piling them on top of one another, as overcrowding can encourage mould.
Lightly press the seeds into the soil without covering them completely.
Step 3: Water Gently
Mist the seeds thoroughly using a spray bottle. This keeps them moist without washing them away. Avoid pouring water directly onto the tray, as excessive moisture can damage the seeds and increase the risk of fungal growth.
Step 4: Cover the Tray for Germination (Days 1–3)
Cover the tray with another empty tray, a lid, or a clean cloth to create a dark, humid environment. This encourages faster germination and stronger root development.
Mist the seeds once or twice a day to maintain moisture.
Within two to three days, tiny sprouts will begin to emerge.
Step 5: Move to Light (Days 3–5)
Once the sprouts are about an inch tall, remove the cover and place the tray in a bright location.
Microgreens need around 4–6 hours of indirect sunlight every day. If natural light is limited, an LED grow light can provide excellent results when used for 12–16 hours daily.
Water carefully from the bottom or continue misting lightly to prevent damaging the delicate stems.
Step 6: Watch Them Grow (Days 5–7)
During the next few days, the seedlings will develop their first leaves and turn a vibrant green. Rotate the tray every day if it’s kept near a window so the plants grow evenly toward the light.
Healthy microgreens should look fresh, upright, and colourful.
Step 7: Harvest and Enjoy
By the seventh day, most varieties will be 2–4 inches tall and ready to harvest.
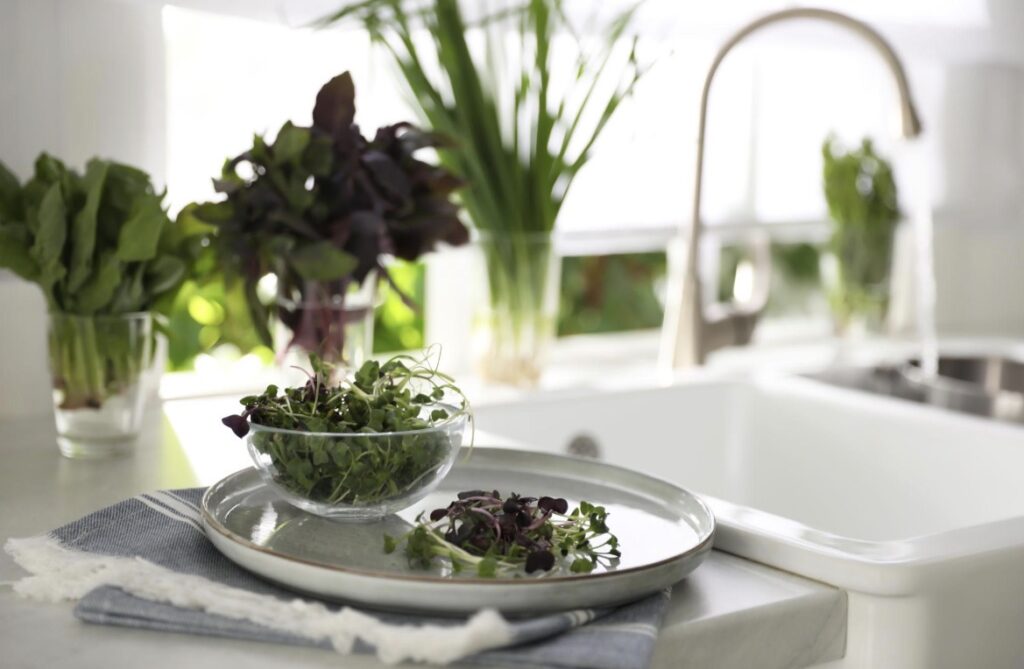
Use clean scissors to cut the microgreens just above the soil surface. Rinse them gently, dry them with a paper towel, and they’re ready to eat.
Freshly harvested microgreens can be added to salads, sandwiches, omelettes, pasta, soups, smoothies, or used as a garnish to enhance both flavour and nutrition.
Best Microgreens for Beginners
If you’re growing microgreens for the first time, these varieties are easy and quick to grow:
- Radish: Fast-growing with a spicy, peppery flavour.
- Broccoli: Mild taste and rich in antioxidants.
- Mustard: Bold flavour with rapid growth.
- Fenugreek (Methi): Popular in Indian kitchens and easy to maintain.
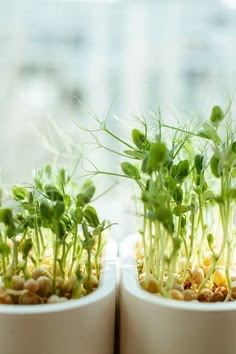
- Pea Shoots: Sweet, tender, and crunchy.
- Sunflower: Nutty flavour with thick, juicy stems.
Tips for Healthy Microgreens
- Always use fresh seeds meant for sprouting or microgreens.
- Ensure good airflow around the tray to reduce mould.
- Keep the soil moist but never soggy.
- Avoid direct afternoon sunlight, which can dry out the seedlings.
- Sow a new tray every week for a continuous harvest of fresh greens.
Why You Should Grow Microgreens at Home
Microgreens are among the easiest crops to grow, making them ideal for apartments and small homes. They require very little investment, grow quickly, and offer exceptional nutritional benefits. Studies suggest that many microgreens contain higher concentrations of vitamins and antioxidants than their mature counterparts, making them an excellent addition to a healthy diet.
Beyond their health benefits, growing microgreens is a fun and satisfying activity that lets you harvest fresh produce from your own home in just one week.
Growing microgreens at home is a simple way to enjoy fresh, healthy food without needing a large garden or expensive equipment. With just a tray, quality seeds, a little water, and seven days of care, you can harvest vibrant greens that add flavour, colour, and nutrition to your meals. Whether you’re looking to eat healthier or start a small indoor garden, microgreens are the perfect place to begin.